Tapo Careのサブスクリプションに登録する方法
Tapo CareはTapoカメラの多くの機能を開放する有償のサービスです。
Tapo Careサービスの概要については以下のページをご覧ください:
https://www.tp-link.com/tapocare/
サブスクリプションへの登録はTapoアプリか以下のページで可能です: https://tapo.tplinkcloud.com/tapo_web/
このFAQでは手順について解説を致します。
Step 1
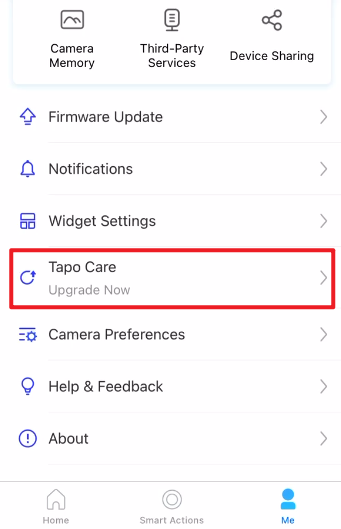
Option 1: Open the Tapo APP and select the Tapo Care
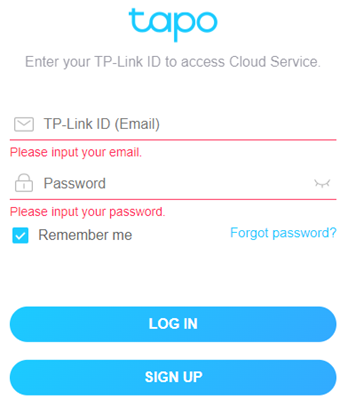
Option 2: Visit our official site and log in your account to start
Step 2
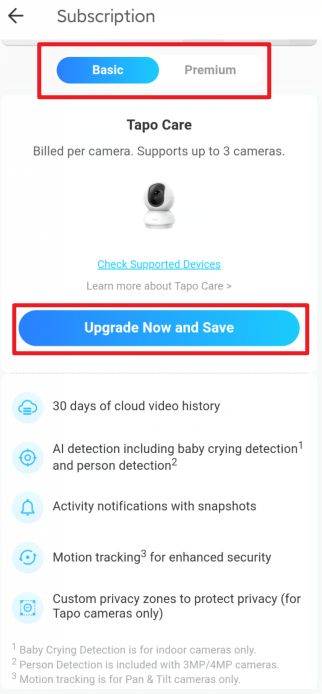
- Tapo on the “Add Plan” to add a Tapo Care plan.
- Select the plan you want to use based on the number of cameras you want to add to it. The basic plan supports up to 3 cameras while the premium plan supports up to 10 cameras.

Step 3
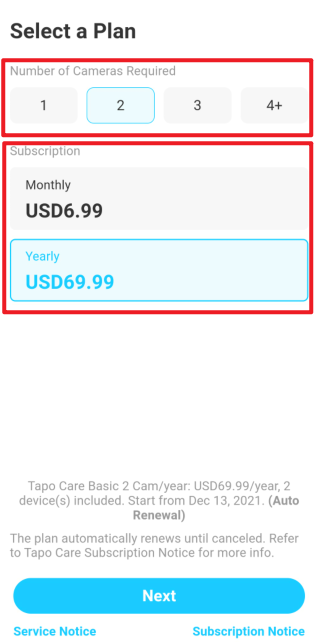
Select the Camera and the auto-renewal billing cycle, if you select the 4+ number of cameras, it will automatically change to the premium plan.
The price of the plan depends on the region of the user.
Step 4
Select the camera you want to add to the plan, the camera selected will be applied Tapo Care features after the subscription. If you do not see your camera in the list, please make sure it has the latest firmware and have internet access.
You can also modify the cameras applied later. How to add new cameras to my Tapo Care plan | TP-Link
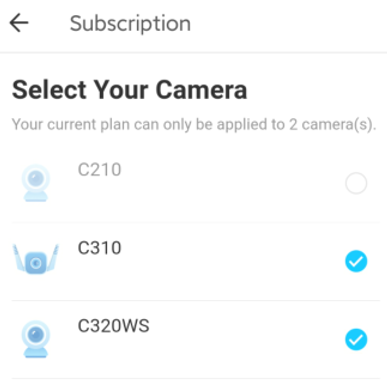
Step 5
- If you are on Tapo APP, please tap on the “Next” to continue in the iOS App Store or the Android Google Play to complete the payment.
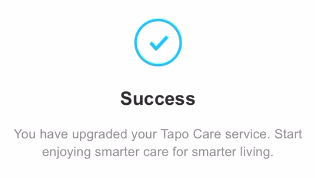
- If you are on our website, you can choose to use a credit card or PayPal to complete the payment.
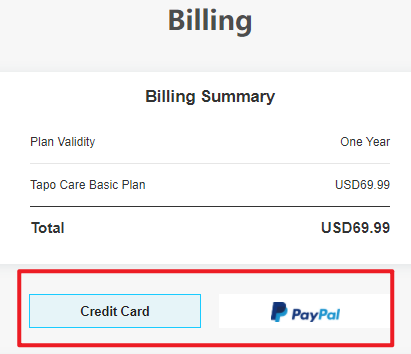
Note:
- You can only subscribe one plan through In-App Purchase, if you want to add more plans, please create subscriptions on our website.
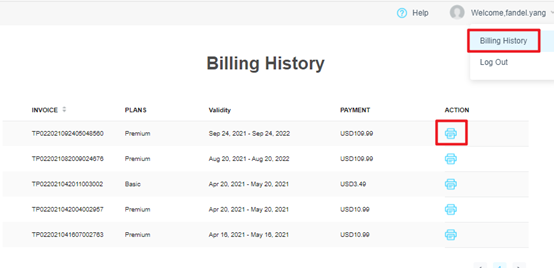
- If you want to get an invoice for the Tapo Care plan, you can visit our website and print it in the billing history.
Please contact TP-Link technical support with the following information if you need further help