How to use the Detection feature of the Tapo & Kasa cameras
This article will show you how to set up the Detection feature of the Tapo & Kasa cameras, and with these settings, the camera will detect the events and record them for you to view.
For Tapo Cameras:
Tapo C200 is used as an example.
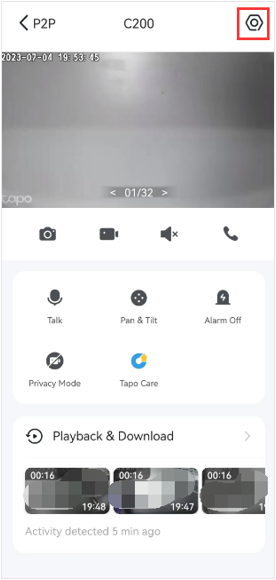
1. On the Home page of the Tapo app, tap the Tapo C200 model card to enter the Live View page (Or tap the Cameras tab>click on Manage on the Tapo C200 to go to the Live View page).
Tap the icon at the top right corner to go to the Device Settings page.

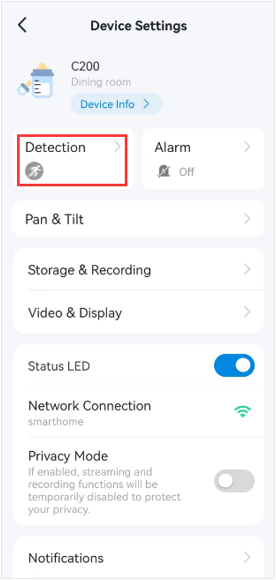
2. Go to the Detection card and then enable the Detection features as per your desire.

3.
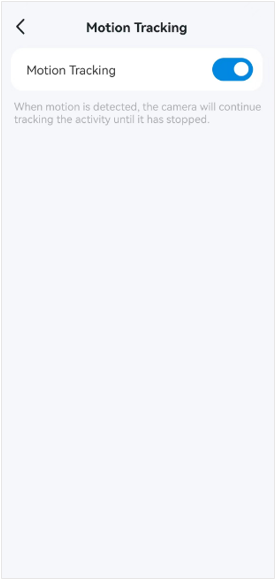
a. You can tap Motion Tracking to turn it on or off.
Note: Some models do not have this feature.
b. On the Motion Detection page, you can enable/disable the Motion Detection feature, set the Motion Sensitivity, and adjust/Add/Remove the Activity Zones.
Note: Depending on model Activity Zones may work for the Motion Detection feature only.


c. You can tap Person Detection or Baby Crying Detection to enable or disable it.
Note: AI detection feature vary by model


4. Recordings can be viewed by opening Live View and tapping on Playback & Download page.
Note: Recordings require a cloud subscription (Tapo Care) or a formatted MicroSD card installed.
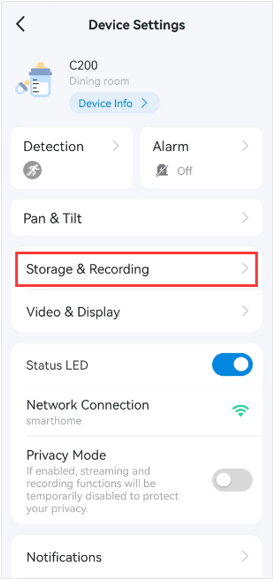
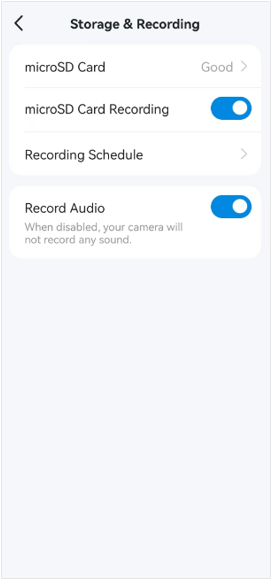
If you use a microSD card for recording, you can managing settings by:
- Go to the Storage &Recording page to ensure the microSD Card Recording is enabled.
- Click on Recording Schedule if you want to set the schedule to continuous recording, detection recording, or not recording.
- Enable the Record Audio if you want the camera to record sound.

And you can go to the camera’s Live View > Playback & Download > Playback page to watch the video clips saved to the microSD card.
5. If you want to receive a push notification on your phone when the camera detects an event, please click here to set up the Notification feature.
6. If you want the camera alarm when it detects an event, please click here to set up the Alarm feature.
For Kasa Cameras:
Kasa KC115 used as an example.
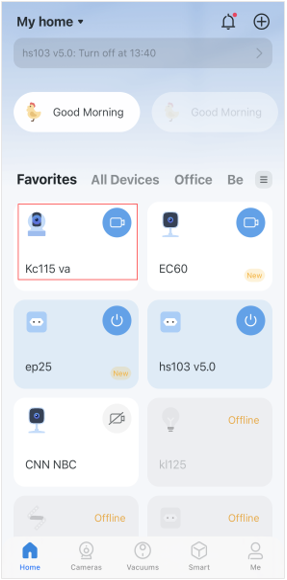
1. On the home page, tap on your camera model card or tap Cameras > Manage to go to the Live View page.

2. On the Live View page, tap Pan & Tilt to choose the viewpoint where you want to add/edit/delete the activity zones.
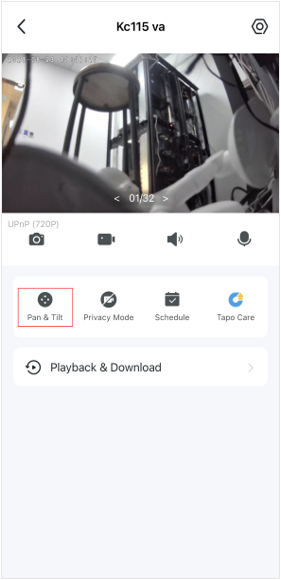


3. On the Live View page, tap the icon at the top right corner to enter the Device Settings page.

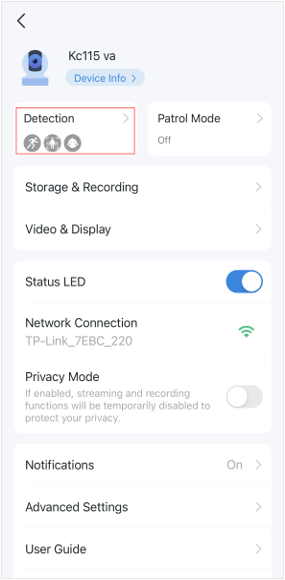
4. On the Device Settings page, tap Detection to edit the Detection feature as per your desire. Here we take Motion Detection as an example.

5. On the Detection & Sensitivity page, enable the Motion Detection function and adjust Motion Sensitivity and Record Duration limit.

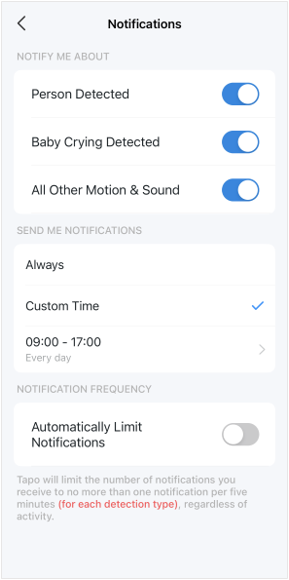
6. After editing motion detection settings, tap Notifications on the Device Settings page. You can customize the time and the frequency of receiving notifications.

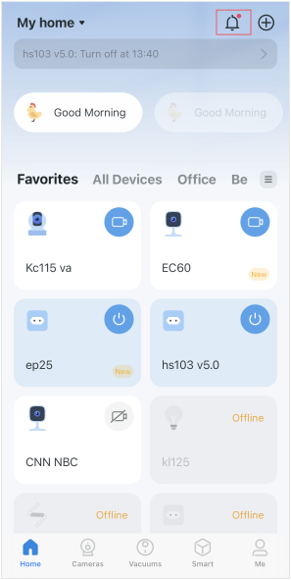
7. After editing the notification settings, you can receive the notifications on the home page.
8. Recordings can be viewed by opening Live View and tapping on Playback & Download page.
Note: Recordings require a cloud subscription (Kasa Care) or a formatted MicroSD card installed.
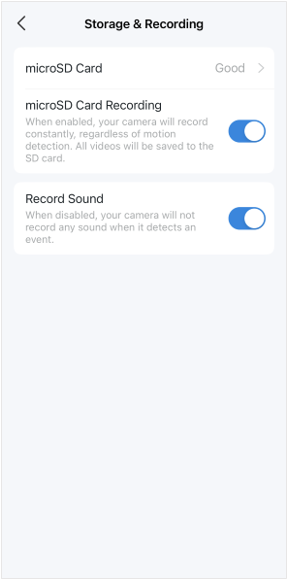
If you use a microSD card for recording, you can manage settings by:
Go to the Storage &Recording page to ensure the microSD Card Recording is enabled.
- Enable the Record Audio if you want the camera to record sound.

9. On the Live View page, tap Playback & Download to view detection recordings if detected. Drag the timeline and locate the orange sections.


Get to know more details of each function and configuration please go to Download Center to download the manual of your product.